NAIL MEASUREMENT GUIDE
Every specimen is made to fit your natural nails.
Measure each nail in millimeters, enter the numbers, and upload four photos with a ruler in frame.
Width (left & right hand) + length (dominant hand) in mm
4 photos with a ruler
01 — TOOLS
Use a flat millimeter ruler.
A soft tape measure bends over the nail and reads too large, so measure straight across and never along the curve.
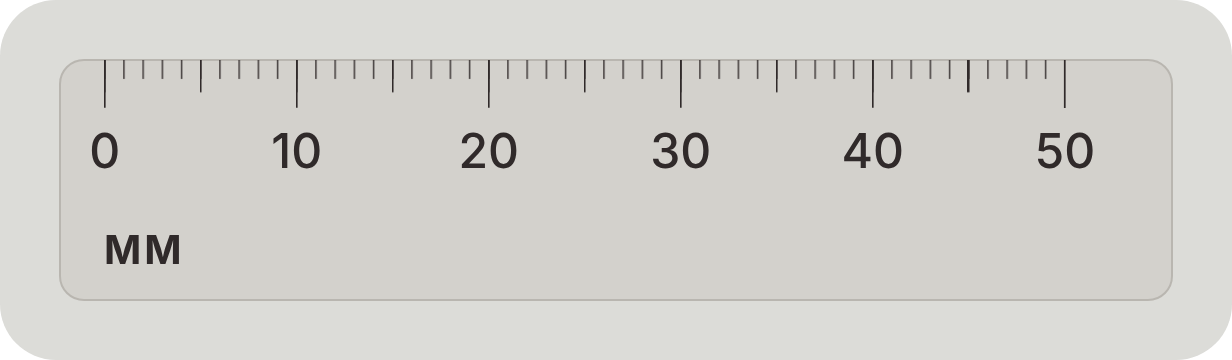
✓ Millimeters (mm)
✗ Not inches
02 — WHAT TO MEASURE
Measure all 10 nail widths and the lengths of your dominant-hand nails.
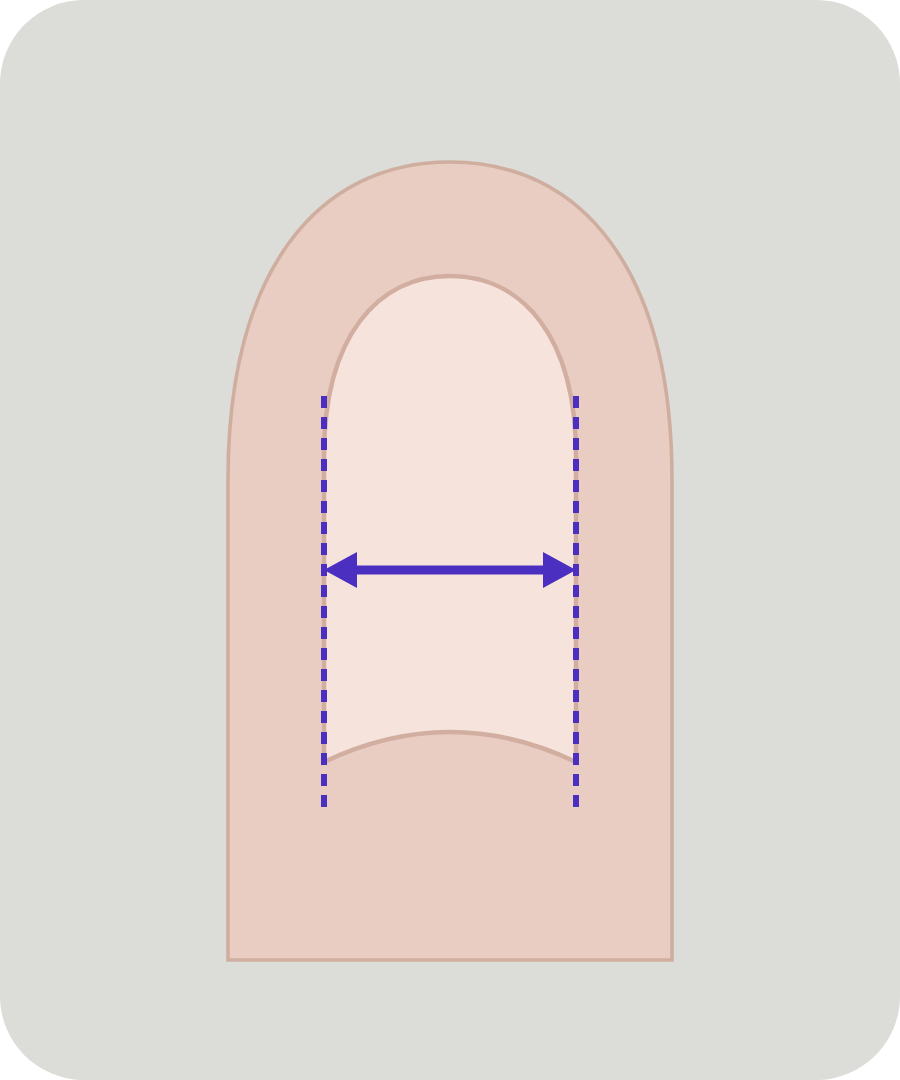
WIDTH
Widest point, sidewall to sidewall. Straight across.
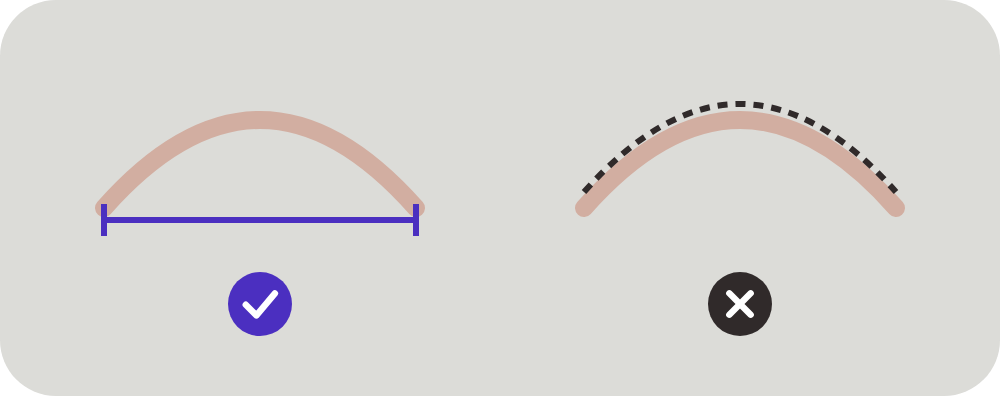
KEEP IT FLAT
Lay the ruler flat across the nail. Never follow the curve.
✓ Straight across (left)
✗ Along the curve (right)
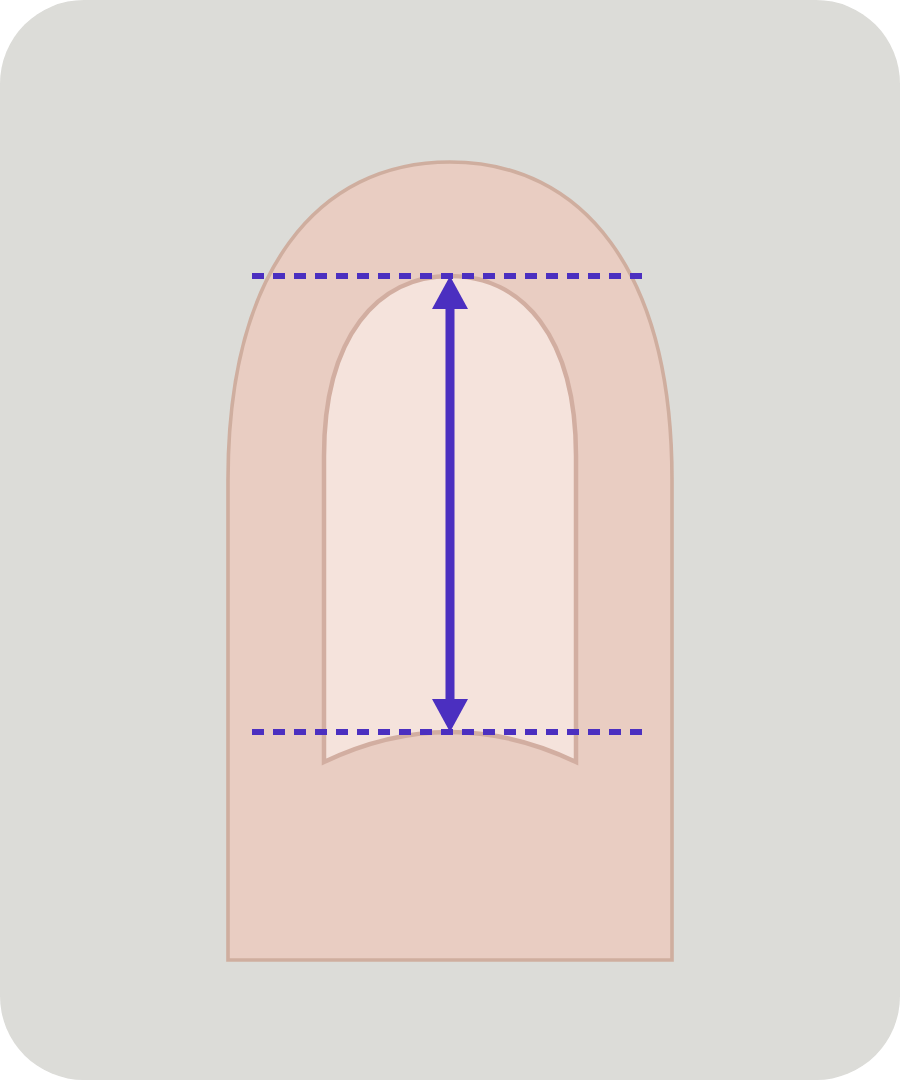
LENGTH
Cuticle to nail tip.
Want them longer? Note it in your design idea.
03 — READ THE RULER
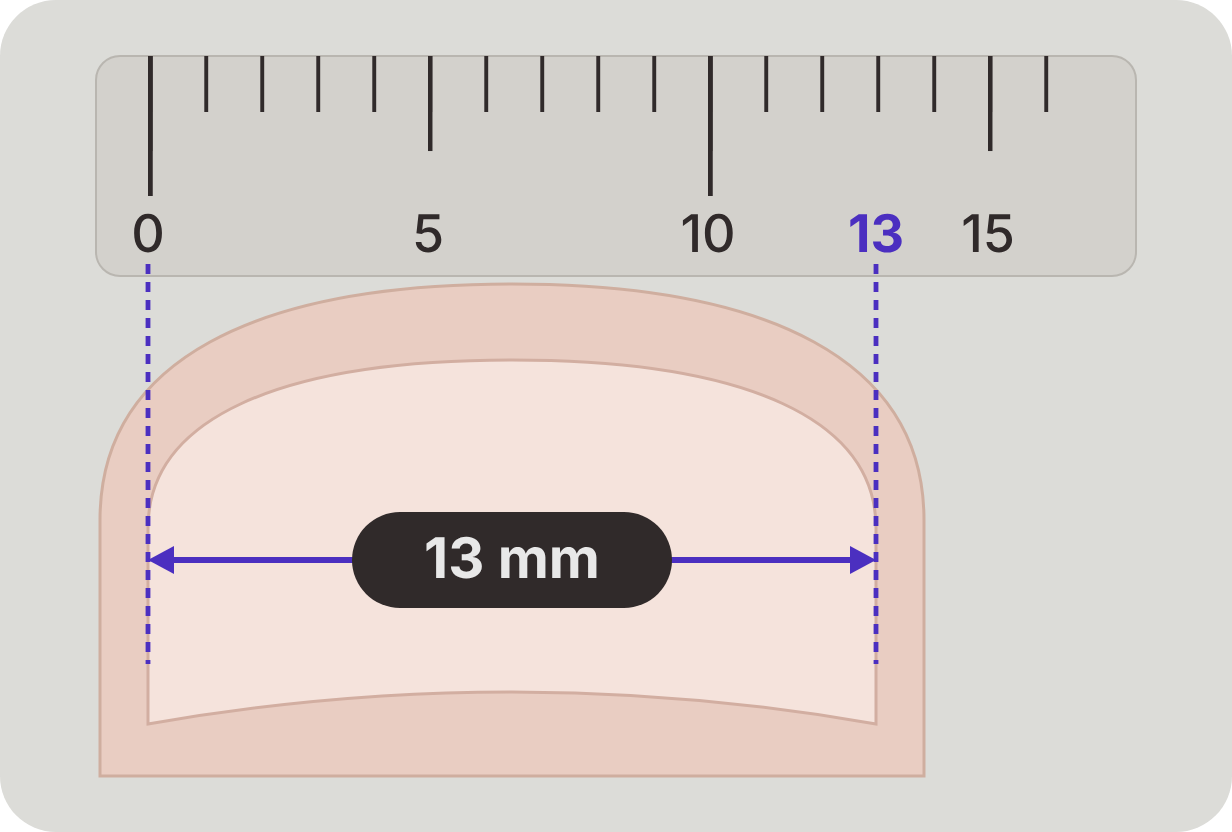
1. Line up 0 mm with one sidewall.
2. Read the mm mark at the other sidewall. Here, 13.
3. Round to the nearest whole mm. Add + if the nail edge falls just past a mm mark, or − if it falls just short.
EXAMPLE —
12.1 mm → 12+
12.8 mm → 13-
13.0 mm → 13
04 — ENTER YOUR NUMBERS
Each field takes five numbers separated by commas, always in this order: thumb first, pinky last.
EXAMPLE —
WIDTH – LEFT HAND (MM)
e.g. 12, 10-, 11, 9-, 7+
WIDTH – RIGHT HAND (MM)
e.g. 12, 9+, 11, 8, 7+
LENGTH – DOMINANT HAND (MM)
e.g. 18, 15, 17, 14, 12
05 — PHOTOS
Upload four clear, well-lit photos of your natural nails with a millimeter ruler held horizontally just above each nail group.
Keep the ruler close to the nails, with its measuring marks facing them (the ruler will appear upside down in the photo). Take two photos per hand.
PHOTO 1 — INDEX THROUGH PINKY, TOGETHER
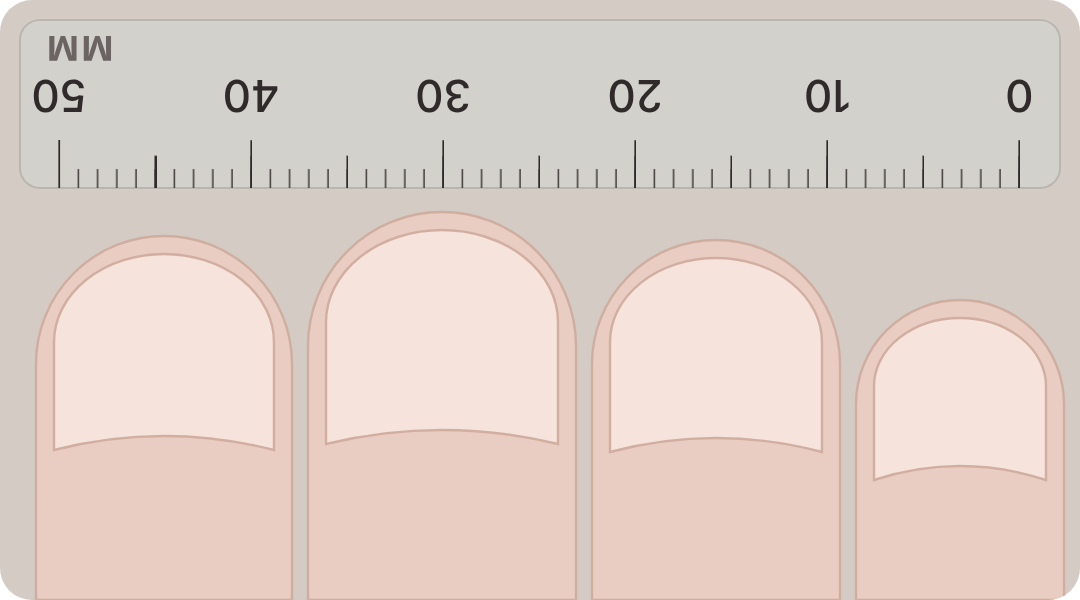
Fingers straight and facing up.
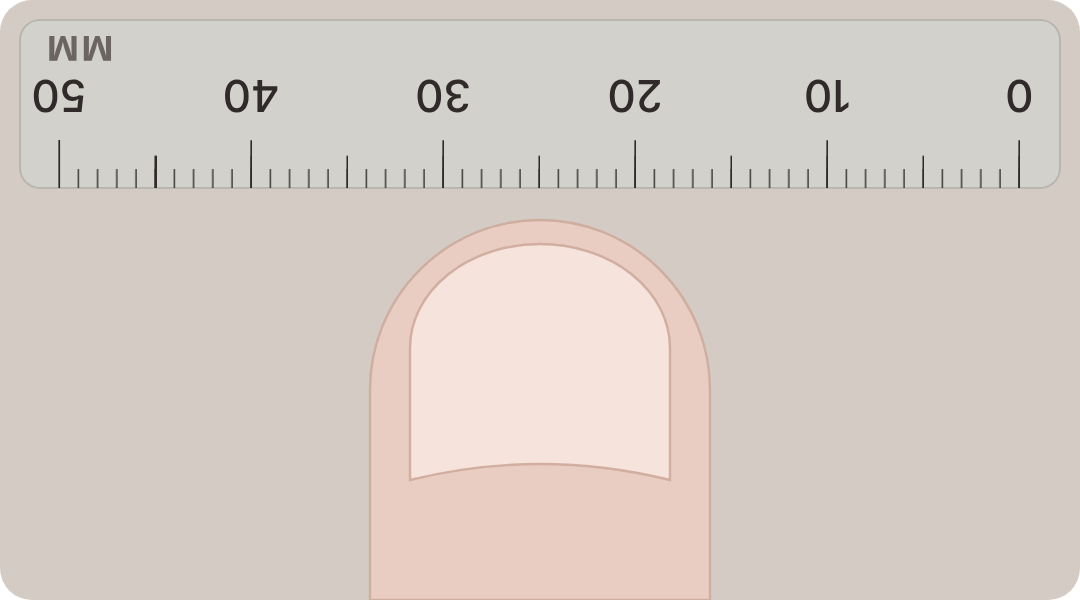
PHOTO 2 — THUMB, ALONE
Hold your thumb straight, facing up.
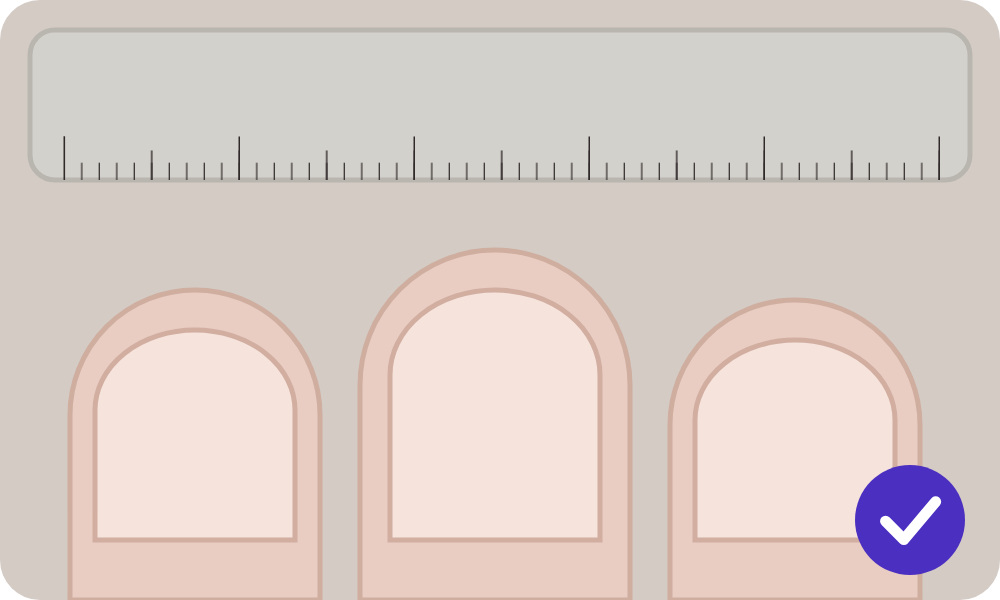
DO
- Ruler horizontal, as close to the nails as possible and level with them.
- Ruler flipped so the measuring lines face the nails (lines closest to the nail edge).
- Ruler numbers and mm markings clearly visible.
- The sidewalls of every nail clearly visible.
- Natural nails only, no press-ons.
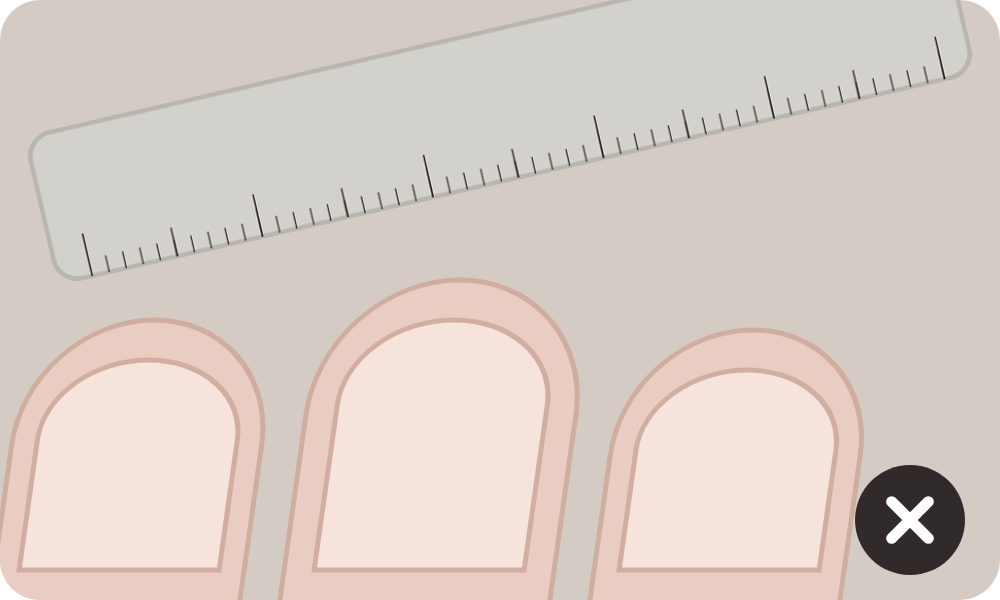
- Shoot straight down from above, not at an angle.
DON'T
✗ Angled shot
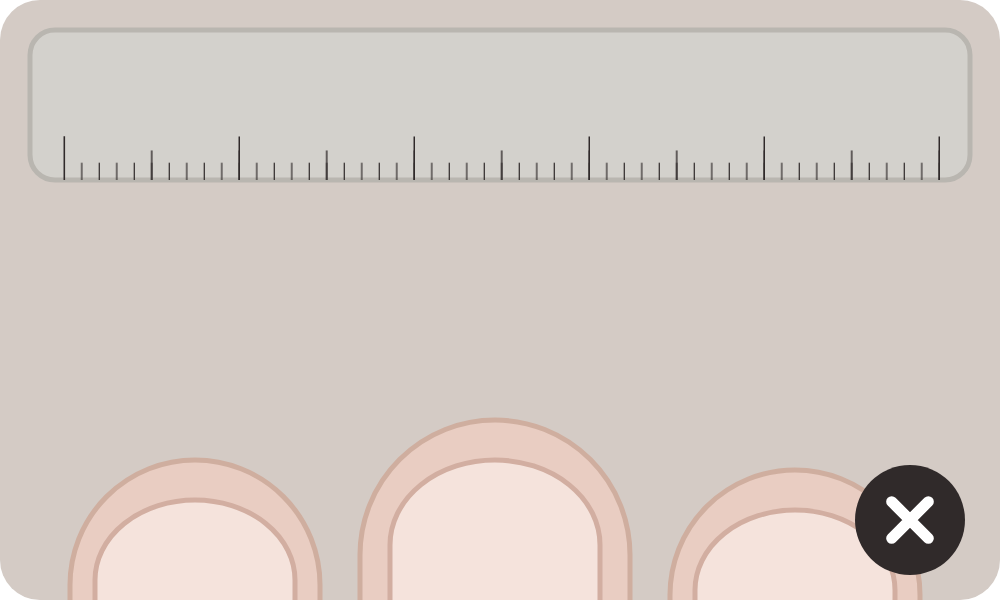
✗ Ruler too far from the nails
✗ Blurry
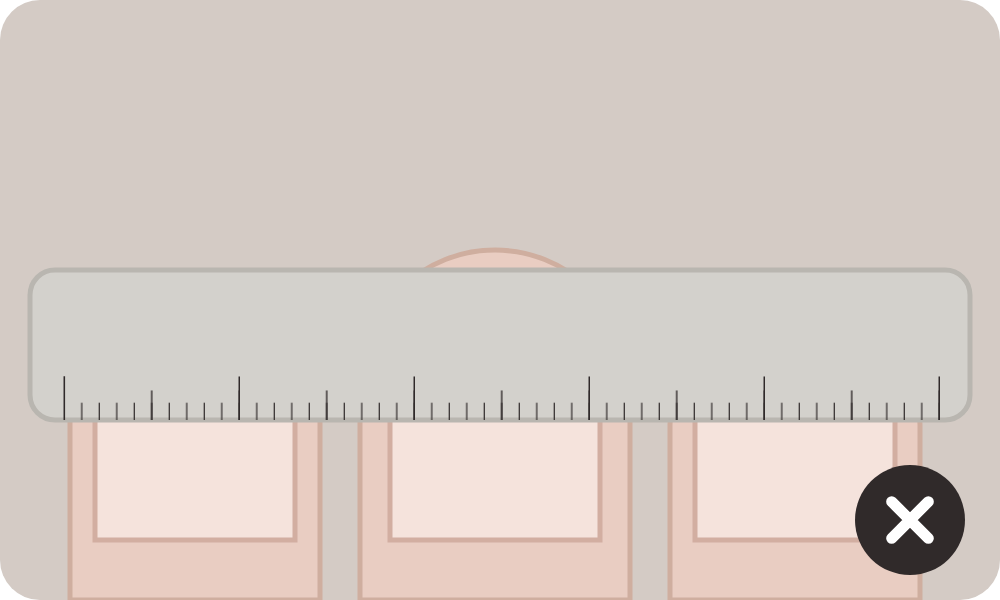
✗ Ruler covering the nails
Ready when you are.